Introduction: Why Stamping Press Maintenance Matters
Unplanned downtime is the single most expensive problem in stamping production. A single hour of press stoppage can cost $2,000–$15,000 in lost output, emergency repair labor, scrap, and downstream delays — depending on your press size and production value. Yet 70–80% of press breakdowns are preventable with a disciplined maintenance program.
Stamping press maintenance is not optional overhead — it is the backbone of reliable, high-quality production. Whether you operate a single C-frame press or a full automated transfer line, this guide gives you a complete, actionable maintenance checklist covering daily, weekly, monthly, and annual tasks that keep your presses running at peak performance.
If you're investing in new equipment, our stamping press solutions include maintenance training, spare parts kits, and ongoing technical support to maximize your uptime from day one.
Daily Maintenance Checklist
Daily checks take 15–20 minutes and should be performed by the press operator at the start of each shift. These simple inspections catch 60% of potential failures before they become breakdowns.
Visual Inspection (5 minutes)
- Check for oil leaks — around hydraulic lines, clutch/brake system, and gearbox seals. Any new drip means a seal is failing.
- Inspect die area — remove scrap buildup, verify die alignment, check for cracked or chipped die components.
- Look at the press frame — check for cracks, especially around the C-frame throat and bed corners under the bolster.
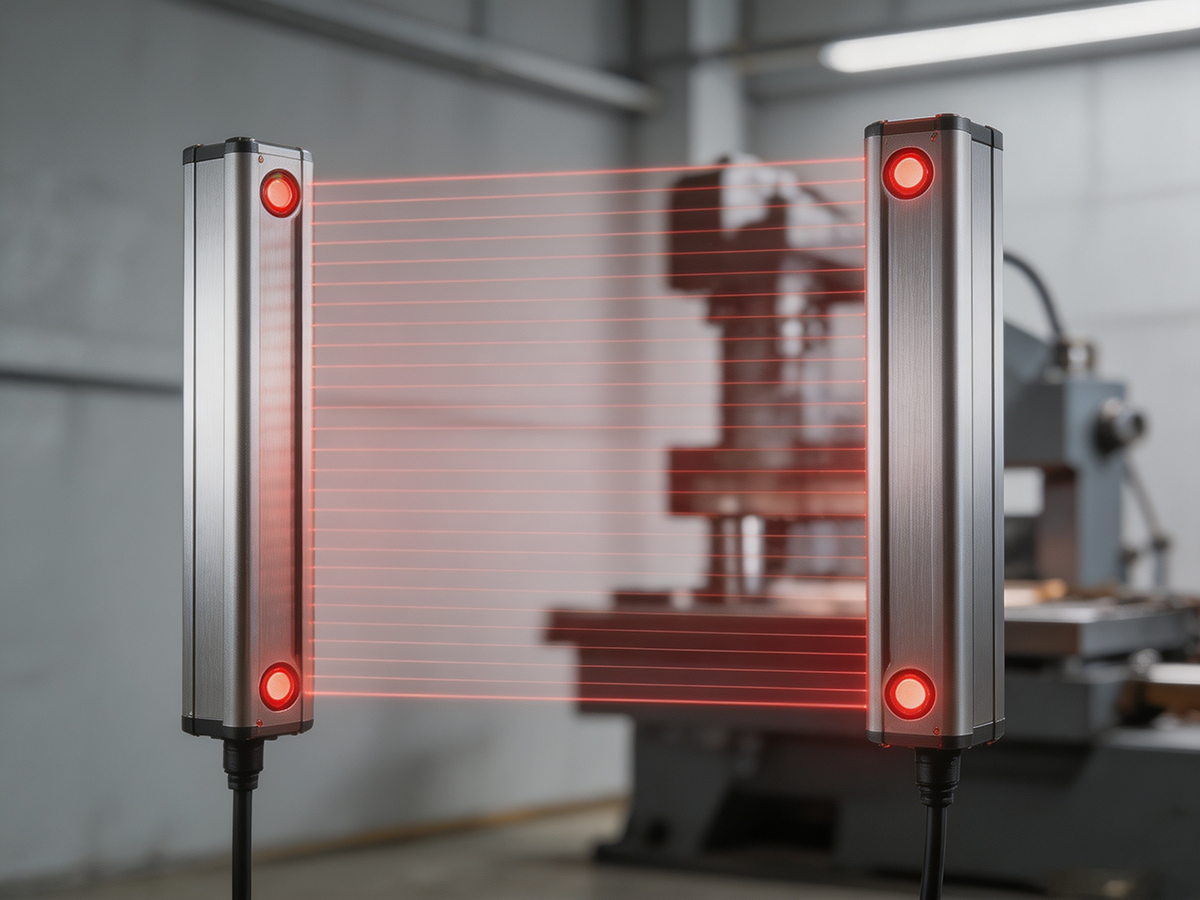
- Verify safety devices — light curtains, two-hand controls, and guards must be functioning. Never bypass.
Lubrication (5 minutes)
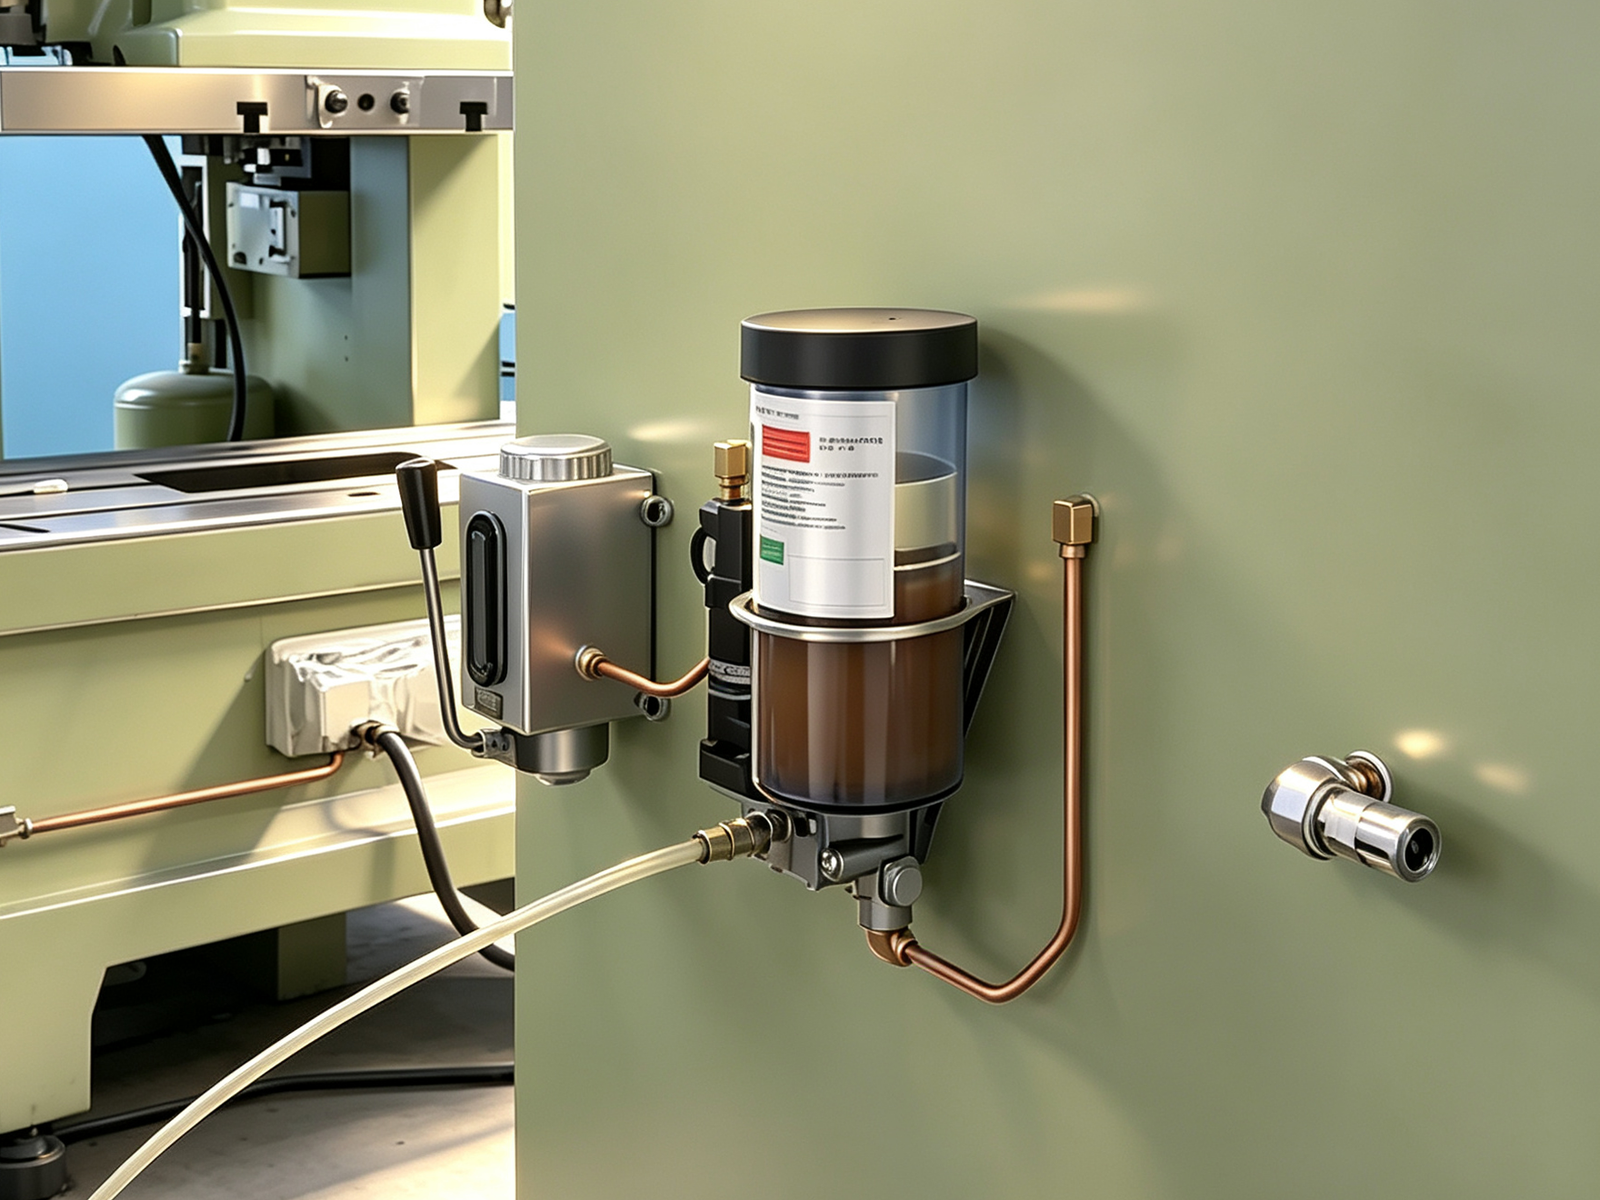
- Grease gibs and slides — use the recommended EP2 grease. Under-lubrication causes 40% of slide wear failures.
- Check oil level in clutch/brake system — top off if below the sight glass midpoint.
- Verify automatic lubrication system — confirm grease pumps are cycling and lines are not clogged.
Operational Checks (5 minutes)
- Test inch mode — press should start and stop crisply. Any hesitation or overrun signals clutch/brake wear.
- Listen for abnormal sounds — knocking, grinding, or squealing during idling indicate bearing, gear, or clutch problems.
- Check tonnage monitor — readings should be within normal range for your current die. Spikes signal die problems; low readings signal loose connections.
- Verify counterbalance pressure — should match specification for the die weight.
Pro tip: Create a printed daily checklist and have operators sign it. Digital logging is better — it creates a maintenance history that helps predict failures before they happen.
Weekly Maintenance Checklist
Weekly checks take 30–45 minutes and are typically performed by a maintenance technician. These tasks address components that degrade more slowly than daily items but still need regular attention.
Lubrication System
- Inspect all grease lines — look for cracks, kinks, or disconnected fittings. Replace damaged lines immediately.
- Clean and refill grease reservoir — use only manufacturer-specified lubricant. Mixing greases causes bearing failure.
- Manually cycle the auto-lube system — verify grease reaches every distribution point.
Electrical System
- Check motor amps — compare to baseline readings. Rising amps indicate bearing wear or mechanical resistance.
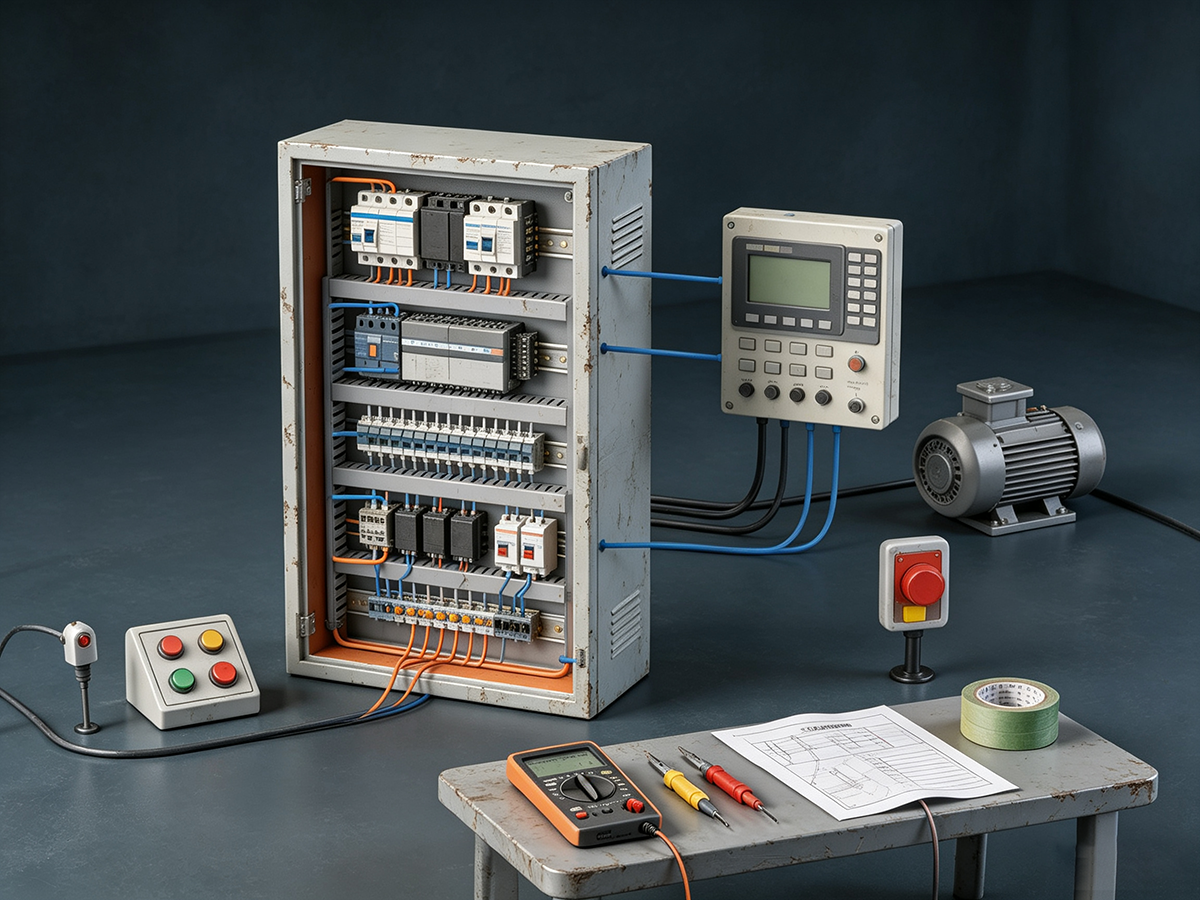
- Inspect control panel — look for loose wires, burn marks, or unusual heat. Feel for hot spots with the back of your hand (never grab live components).
- Test limit switches and proximity sensors — use a multimeter to verify proper switching.
- Clean electrical enclosures — compressed air to remove metal dust. Dust buildup causes shorts and overheating.
Mechanical Components
- Check clutch/brake clearance — measure with feeler gauges. Adjust if outside manufacturer spec (typically 0.3–0.5mm).
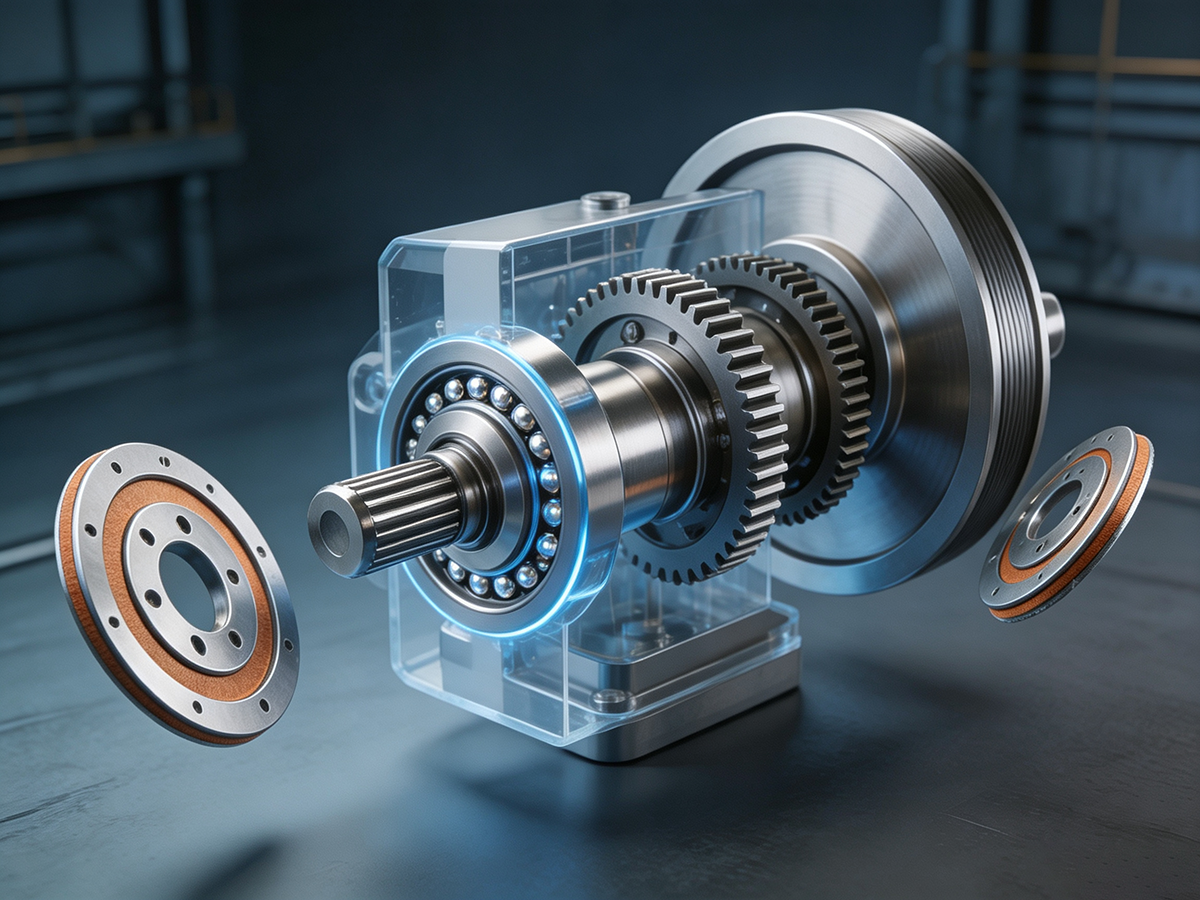
- Inspect flywheel bearing — check for play and listen with a mechanic's stethoscope.
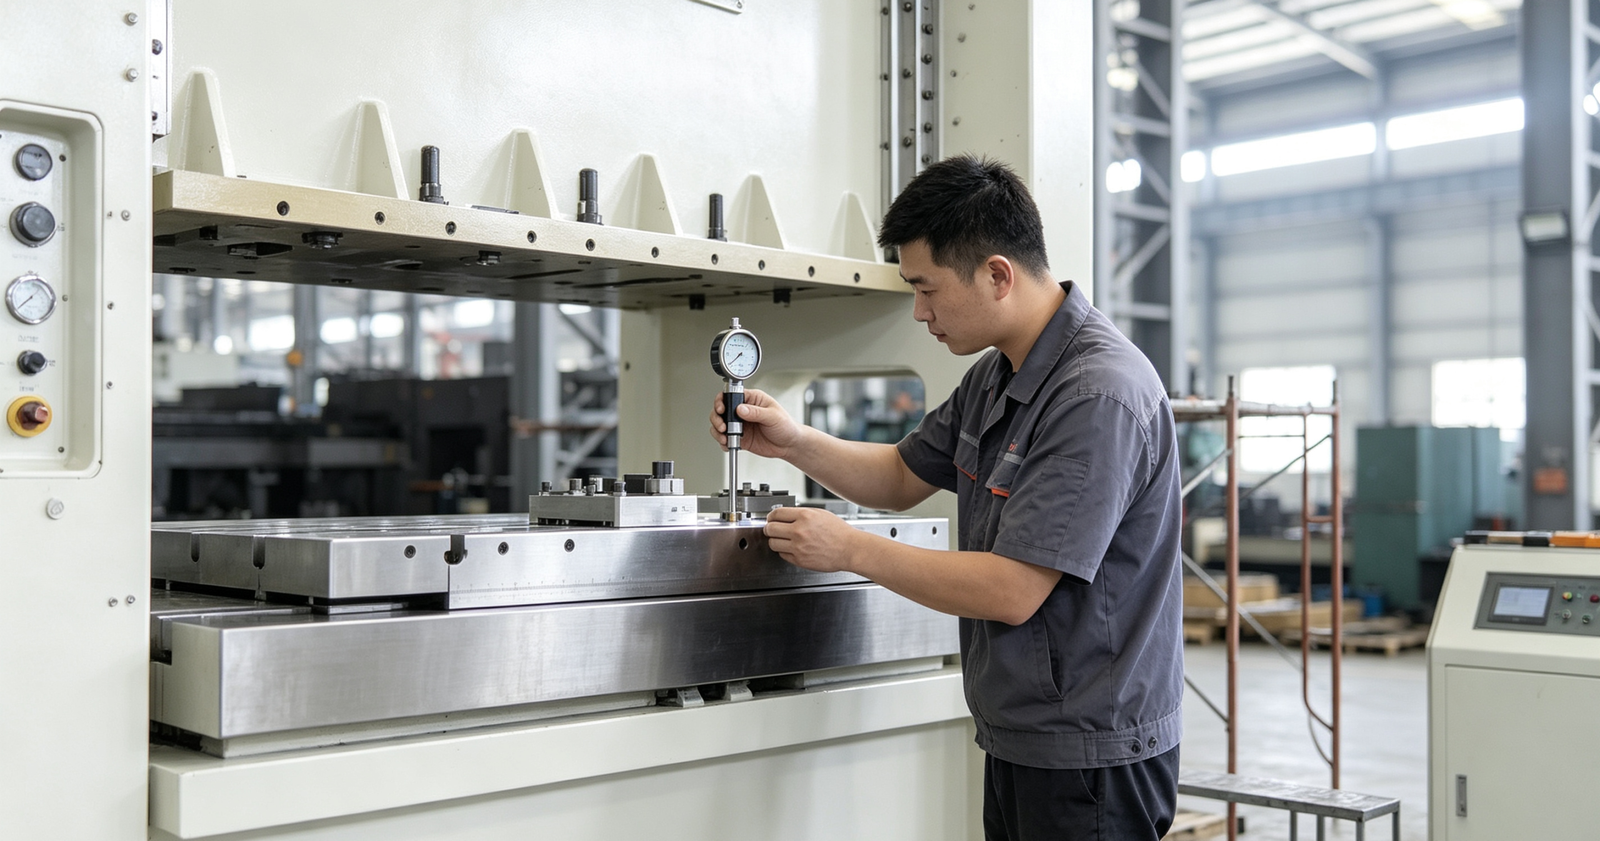
- Verify slide parallelism — use a dial indicator on the slide at TDC. Deviation > 0.05mm needs correction.
- Torque check on die clamps — loose clamps cause die shift, damaging both the die and the press bed.
Monthly Maintenance Checklist
Monthly tasks take 2–4 hours and may require partial disassembly. Schedule during planned downtime windows. These tasks address slow-wear items that compound into major failures if neglected.
Clutch and Brake System
The clutch and brake are the highest-wear systems on any mechanical press.
Drive Train
- Check crankshaft bearing clearances — use a dial indicator. Excessive play indicates bearing wear requiring replacement.
- Inspect gear teeth — look for pitting, scoring, or uneven wear patterns. Minor pitting is normal; progressive pitting needs monitoring.
- Change gearbox oil — drain, flush, and refill with manufacturer-spec oil. Check for metal particles in the drain oil.
- Check connecting rod and bushing wear — measure clearance with inside micrometers.
Slide and Gib System
- Measure gib clearance — excessive play (> 0.1mm) causes poor die alignment and inconsistent part quality.
- Inspect gib surfaces — scoring or galling requires regrinding or replacement.
- Lubricate all six-point gib adjustments — proper lubrication extends gib life 3–5×.
Electrical Deep Inspection
- Torque all terminal connections — thermal cycling loosens connections over time, causing arcing and fires.
- Check capacitor banks (servo presses) — degraded capacitors reduce energy efficiency and torque.
- Inspect encoder and resolver connections — signal noise from loose connections causes positioning errors on servo presses.
Annual Maintenance: Major Overhaul Items
Annual or semi-annual tasks typically require 1–3 days of downtime and may involve specialized tooling or factory service. Plan these during production shutdowns or holiday breaks.
Major Inspections
- Full alignment survey — check bed-to-slide parallelism in all axes, ram tilt, and bolster flatness. Laser alignment is preferred for presses > 100 tons.
- Crankshaft journal inspection — NDT (non-destructive testing) for cracks, measure journal diameter for wear. Regrinding may be needed.
- Frame stress analysis — check for residual deformation from past overloads using strain gauges or precision levels.
- Complete electrical system test — megger test motor insulation, test all safety circuits per OSHA / CE requirements.
Rebuild / Replacement Cycles
| Component | Typical Life | Replacement Signs |
|---|---|---|
| Clutch friction discs | 2–4 years | Overrun, slipping, burning smell |
| Brake pads | 2–4 years | Slow stopping, inconsistent TDC |
| Crankshaft bearings | 8–15 years | Noise, heat, excessive clearance |
| Gibs (full set) | 5–10 years | Cannot adjust to spec, scoring |
| Flywheel bearing | 10–20 years | Noise, vibration, heat |
| Gearbox gears | 15–25 years | Progressive pitting, broken teeth |
| Servo motor | 10–15 years | Position errors, torque loss, overheating |
Essential Spare Parts to Keep on Hand
Smart maintenance managers keep critical spares in stock. Waiting 2–6 weeks for a clutch assembly or seal kit during an unplanned failure is far more expensive than the part itself.
Must-Stock Spares for Every Press
| Part | Why Stock It | Lead Time (if not stocked) |
|---|---|---|
| Clutch friction discs (set) | Wear item, unpredictable failure | 2–4 weeks |
| Brake pads (set) | Safety critical, can't run without | 2–4 weeks |
| Complete seal kits | Hydraulic/clutch seals fail suddenly | 1–3 weeks |
| Air valve solenoids | Electronic failure is sudden | 1–2 weeks |
| Limit switches / sensors | Frequent use, cheap to stock | 3–5 days |
| Grease and oil (supply) | Consumption item, run out = stop | 1–2 days |
| Bearing set (main bearings) | Rare failure but catastrophic downtime | 4–8 weeks |
Cost-saving tip: Buy seal kits and friction discs with the press purchase. They're inexpensive (1–3% of press price) and their availability is never guaranteed 3 years later.
Common Stamping Press Problems and Solutions
Even with diligent maintenance, problems occur. Here are the most common press issues, their root causes, and how to fix them:
1. Slide Overrun or Poor Stopping Accuracy
Symptoms: Slide passes TDC, inconsistent stopping position, die damage during setup.
Root causes: Worn clutch/brake friction material, weak brake springs, air pressure too low, sluggish solenoid valve.
Solution: Measure friction material thickness, check brake spring force with a gauge, verify 5–6 bar air supply, test valve response time.
2. Excessive Vibration During Operation
Symptoms: Machine shakes, die life decreases, part quality inconsistent.
Root causes: Loose foundation bolts, worn crankshaft bearings, imbalanced flywheel, worn gears.
Solution: Torque foundation bolts, check bearing clearance, balance flywheel, inspect gear teeth with a stethoscope.
3. Tonnage Fluctuation
Symptoms: Inconsistent part forming, die cracking, tonnage monitor shows erratic readings.
Root causes: Worn gibs, loose die mounting, slide misalignment, material thickness variation.
Solution: Measure and adjust gib clearance, re-torque die clamps, check slide parallelism, verify incoming material specs.
4. Oil Leaks
Symptoms: Oil on press bed, dropping oil levels, slippery floor hazards.
Root causes: Degraded seals (heat aging), loose fittings, overfilled reservoir, cracked lines.
Solution: Replace seal kits (not individual seals), torque fittings to spec, verify oil level to sight glass mark, pressure test lines.
5. Electrical Faults and Tripping
Symptoms: Press stops mid-stroke, breaker trips, PLC error codes.
Root causes: Loose terminal connections, contaminated enclosures, degraded insulation, VFD faults.
Solution: Re-torque all terminals, clean enclosures, megger test motors, check VFD parameter settings and fault logs.
Maintenance Cost Budgeting
Industry benchmarks show that well-maintained presses cost 2–4% of their purchase price annually in maintenance. Neglected presses can cost 8–12% — and that's before counting lost production.
| Maintenance Level | Annual Cost (% of press price) | Uptime |
|---|---|---|
| Reactive (fix when broken) | 8–12% | 75–85% |
| Basic preventive | 4–6% | 88–93% |
| Systematic preventive | 2–4% | 93–97% |
| Predictive (condition monitoring) | 3–5% | 97–99% |
The math is clear: A systematic preventive maintenance program costs less per year AND delivers higher uptime than running to failure. Every $1 spent on prevention saves $5–$8 in emergency repairs and lost production.
How Taifeng Supports Your Maintenance Program
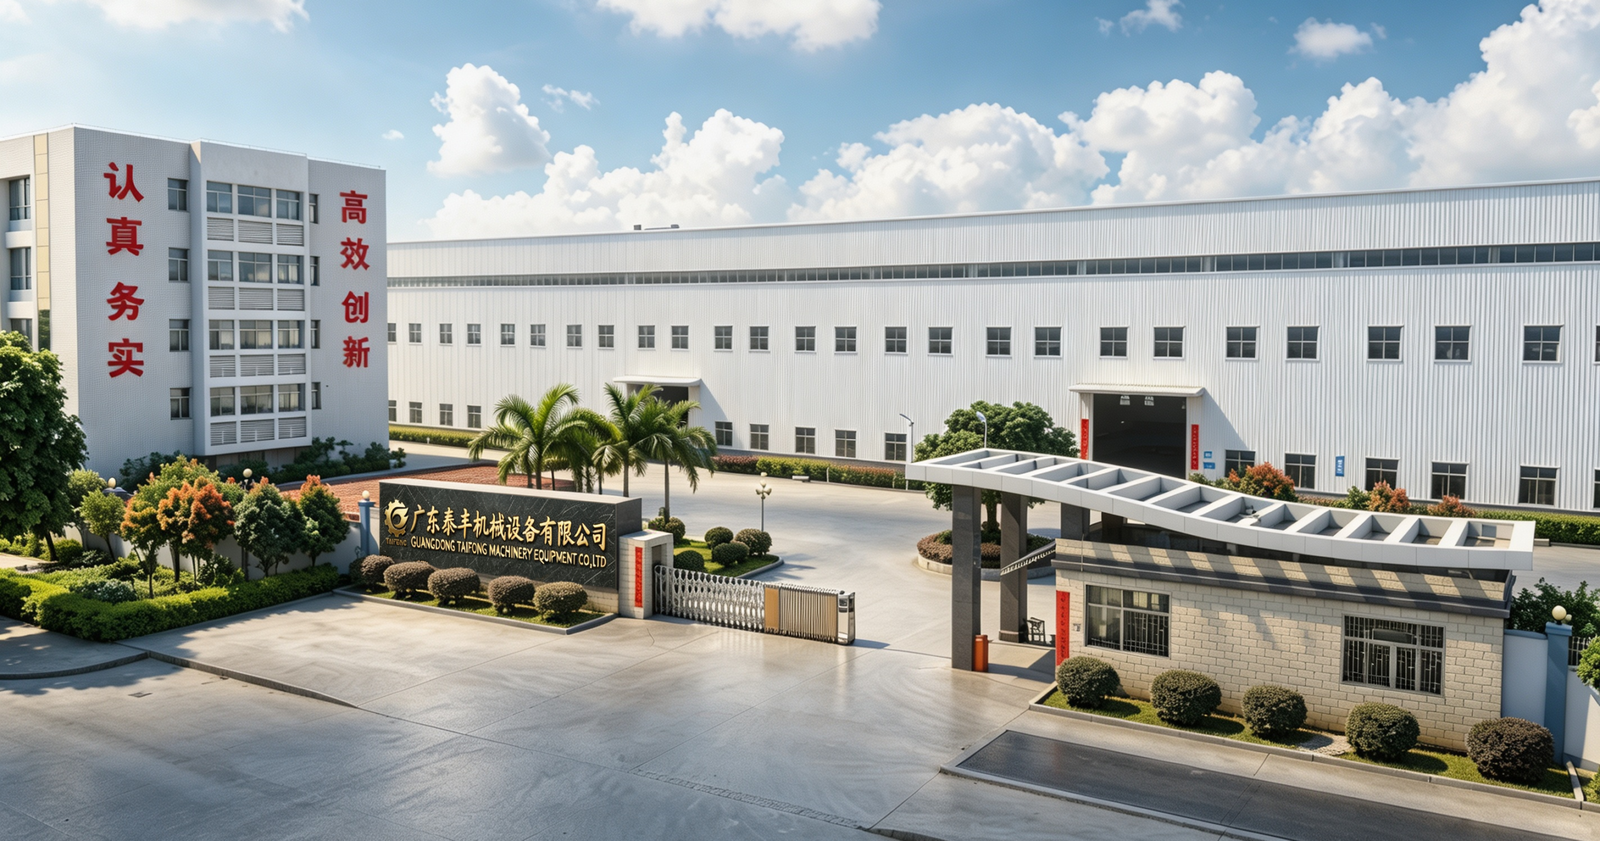
At Taifeng Machinery, we design our presses for easy maintenance and support your team throughout the machine's lifetime. Every press we deliver includes:
- Complete maintenance manual — detailed daily, weekly, monthly, and annual checklists specific to your model
- Spare parts kit with delivery — recommended wear parts included with every press purchase
- Operator and maintenance training — on-site training during commissioning, covering all routine maintenance tasks
- Remote technical support — WhatsApp, video call, and email support for troubleshooting and guidance
- Fast spare parts supply — critical wear parts ship within 3–5 days from our factory stock
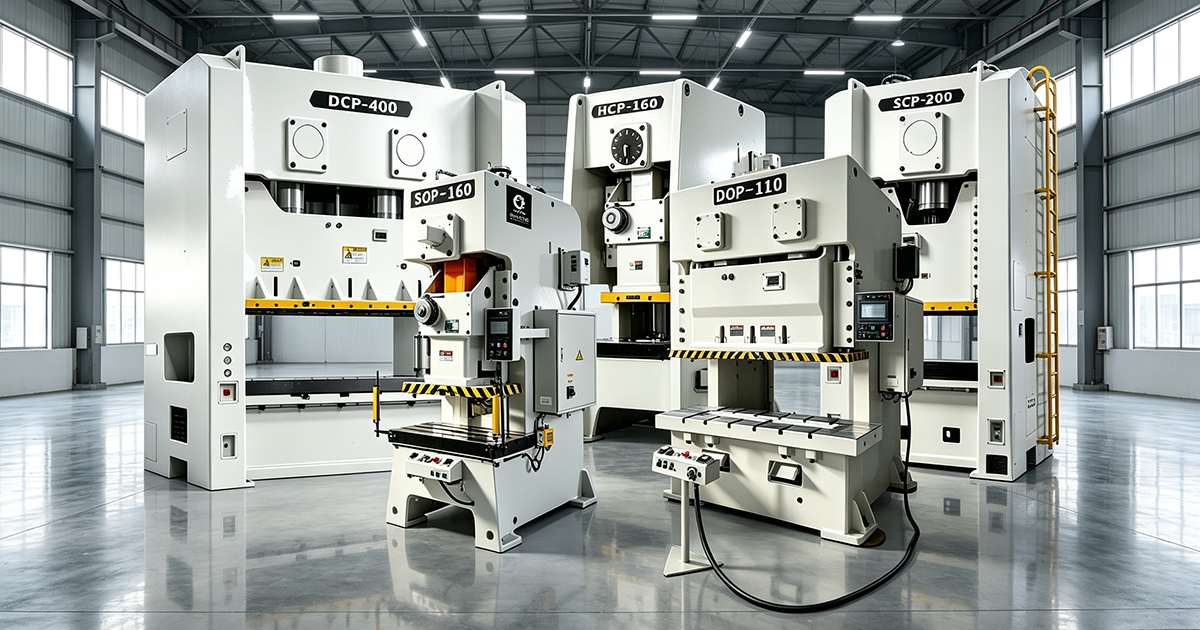
Browse our complete product range to find the right press for your production needs. Every Taifeng press is designed for easy access to maintenance points, with centralized lubrication and clear component labeling that simplifies your service routine.
Maintenance Best Practices Summary
- Never skip daily checks — 15 minutes of prevention saves 15 hours of repair
- Keep maintenance logs — track oil consumption, amp readings, vibration levels. Trends predict failures.
- Stock critical spares — seal kits, friction discs, sensors, and solenoid valves should always be on your shelf
- Train your operators — they are the first line of defense. A trained operator catches problems a technician visits once a month never sees
- Use manufacturer-specified lubricants — mixing greases or using "equivalent" oils accelerates wear
- Schedule maintenance during planned downtime — never defer maintenance because "we're too busy." The breakdown you're scheduling is far more disruptive
- Invest in condition monitoring — vibration analysis, thermal imaging, and oil analysis turn reactive maintenance into predictive maintenance
The bottom line: A stamping press that receives systematic maintenance will run for 25–30+ years with consistent precision. The same press, neglected, will need major overhaul in 5–8 years — or catastrophic failure even sooner.